01556 50 9823
01556 50 9823
May 10, 2024 / in Wildlife
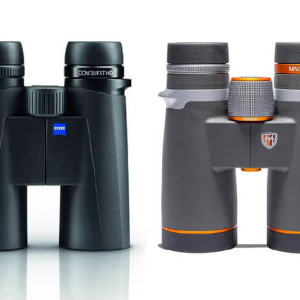
A spotting scope is a fantastic tool for wildlife observation, providing a clear view of animals a long way off. Whether you’re a birdwatcher, amateur ecologist or wildlife enthusiast, you can gain detailed observations using the large lenses and powerful magnification offered by scopes. Here we offer expert advice on how to use a spotting scope for wildlife observation.
When using scopes, it’s important to consider the direction light comes from and its intensity. Never look at the sun through a scope, as this focuses the light directly into your eye and could cause damage.
At times when the sun is low, bear in mind how your subject is positioned. Looking towards the sun can also mean what you’re trying to see is silhouetted. Try to move to a better vantage point where the light is side-on or behind you. This will give you better detail and a more satisfying view.
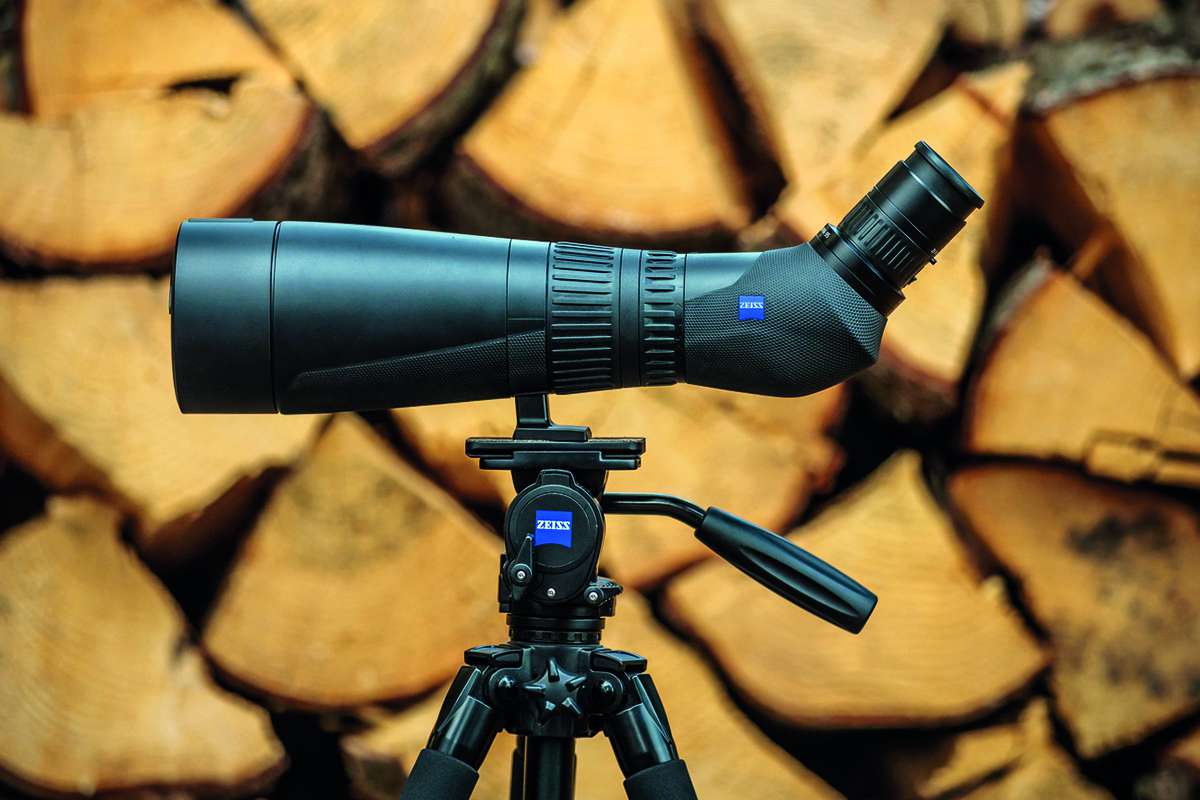
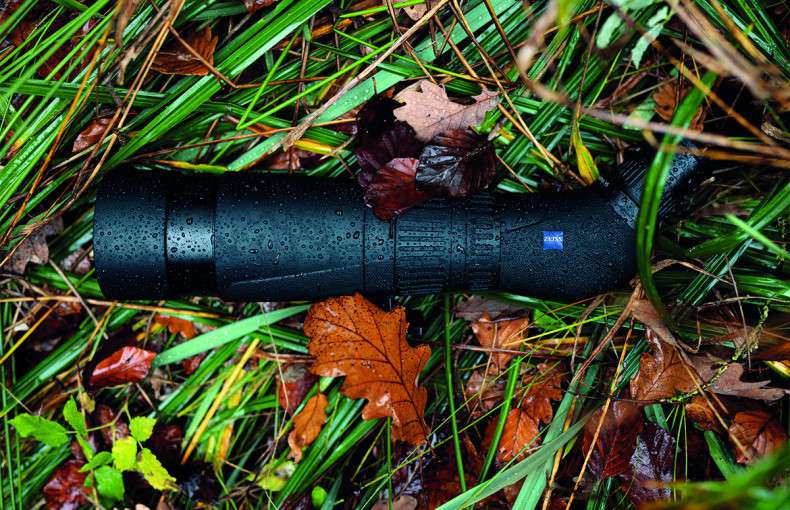
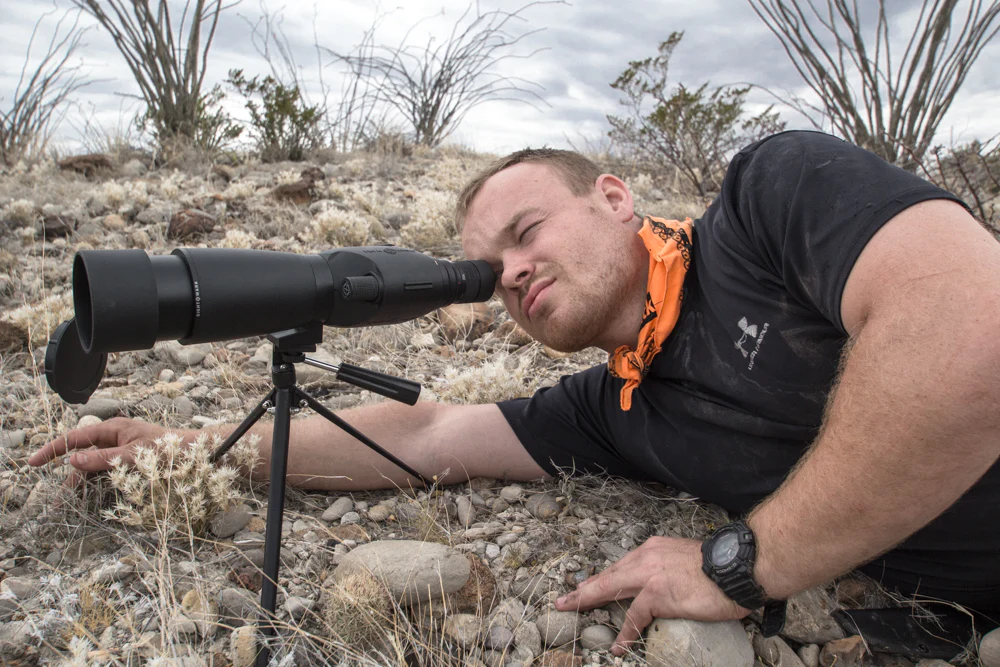
If you’re using a magnification over 10x, stabilising the scope is essential. You can invest in a spotting scope tripod to do this, but any sturdy surface will also work. A car roof, soft backpack, or even a branch can help reduce shaking.
The benefits of a tripod include:
It’s best to start at the smallest magnification to find your subject in the scope. This gives you a wide field of view to search with, before zooming in to see detail.
In environments like woodland, open fields or coastlines, you’re often looking at many similar backgrounds. This can make it a challenge to find your subject in the scope. Use landmarks such as hedges or tree trunks to orient yourself.
Looking with the naked eye, you should be able to map your subject as being, for example, 2m to the left of the big oak trunk. Then you can find the oak in your scope, and pan to the left to find your target.
Some scopes have a small close focus range and can be used to inspect the small and intricate parts of our world as well as those that are distant. A close-up and detailed view of insects, moss or plants is a great alternative use for your optics because they let in so much light that you can get incredibly detailed images.
If your scope or binoculars have a close focus range of less than 2m, you can use it this way.
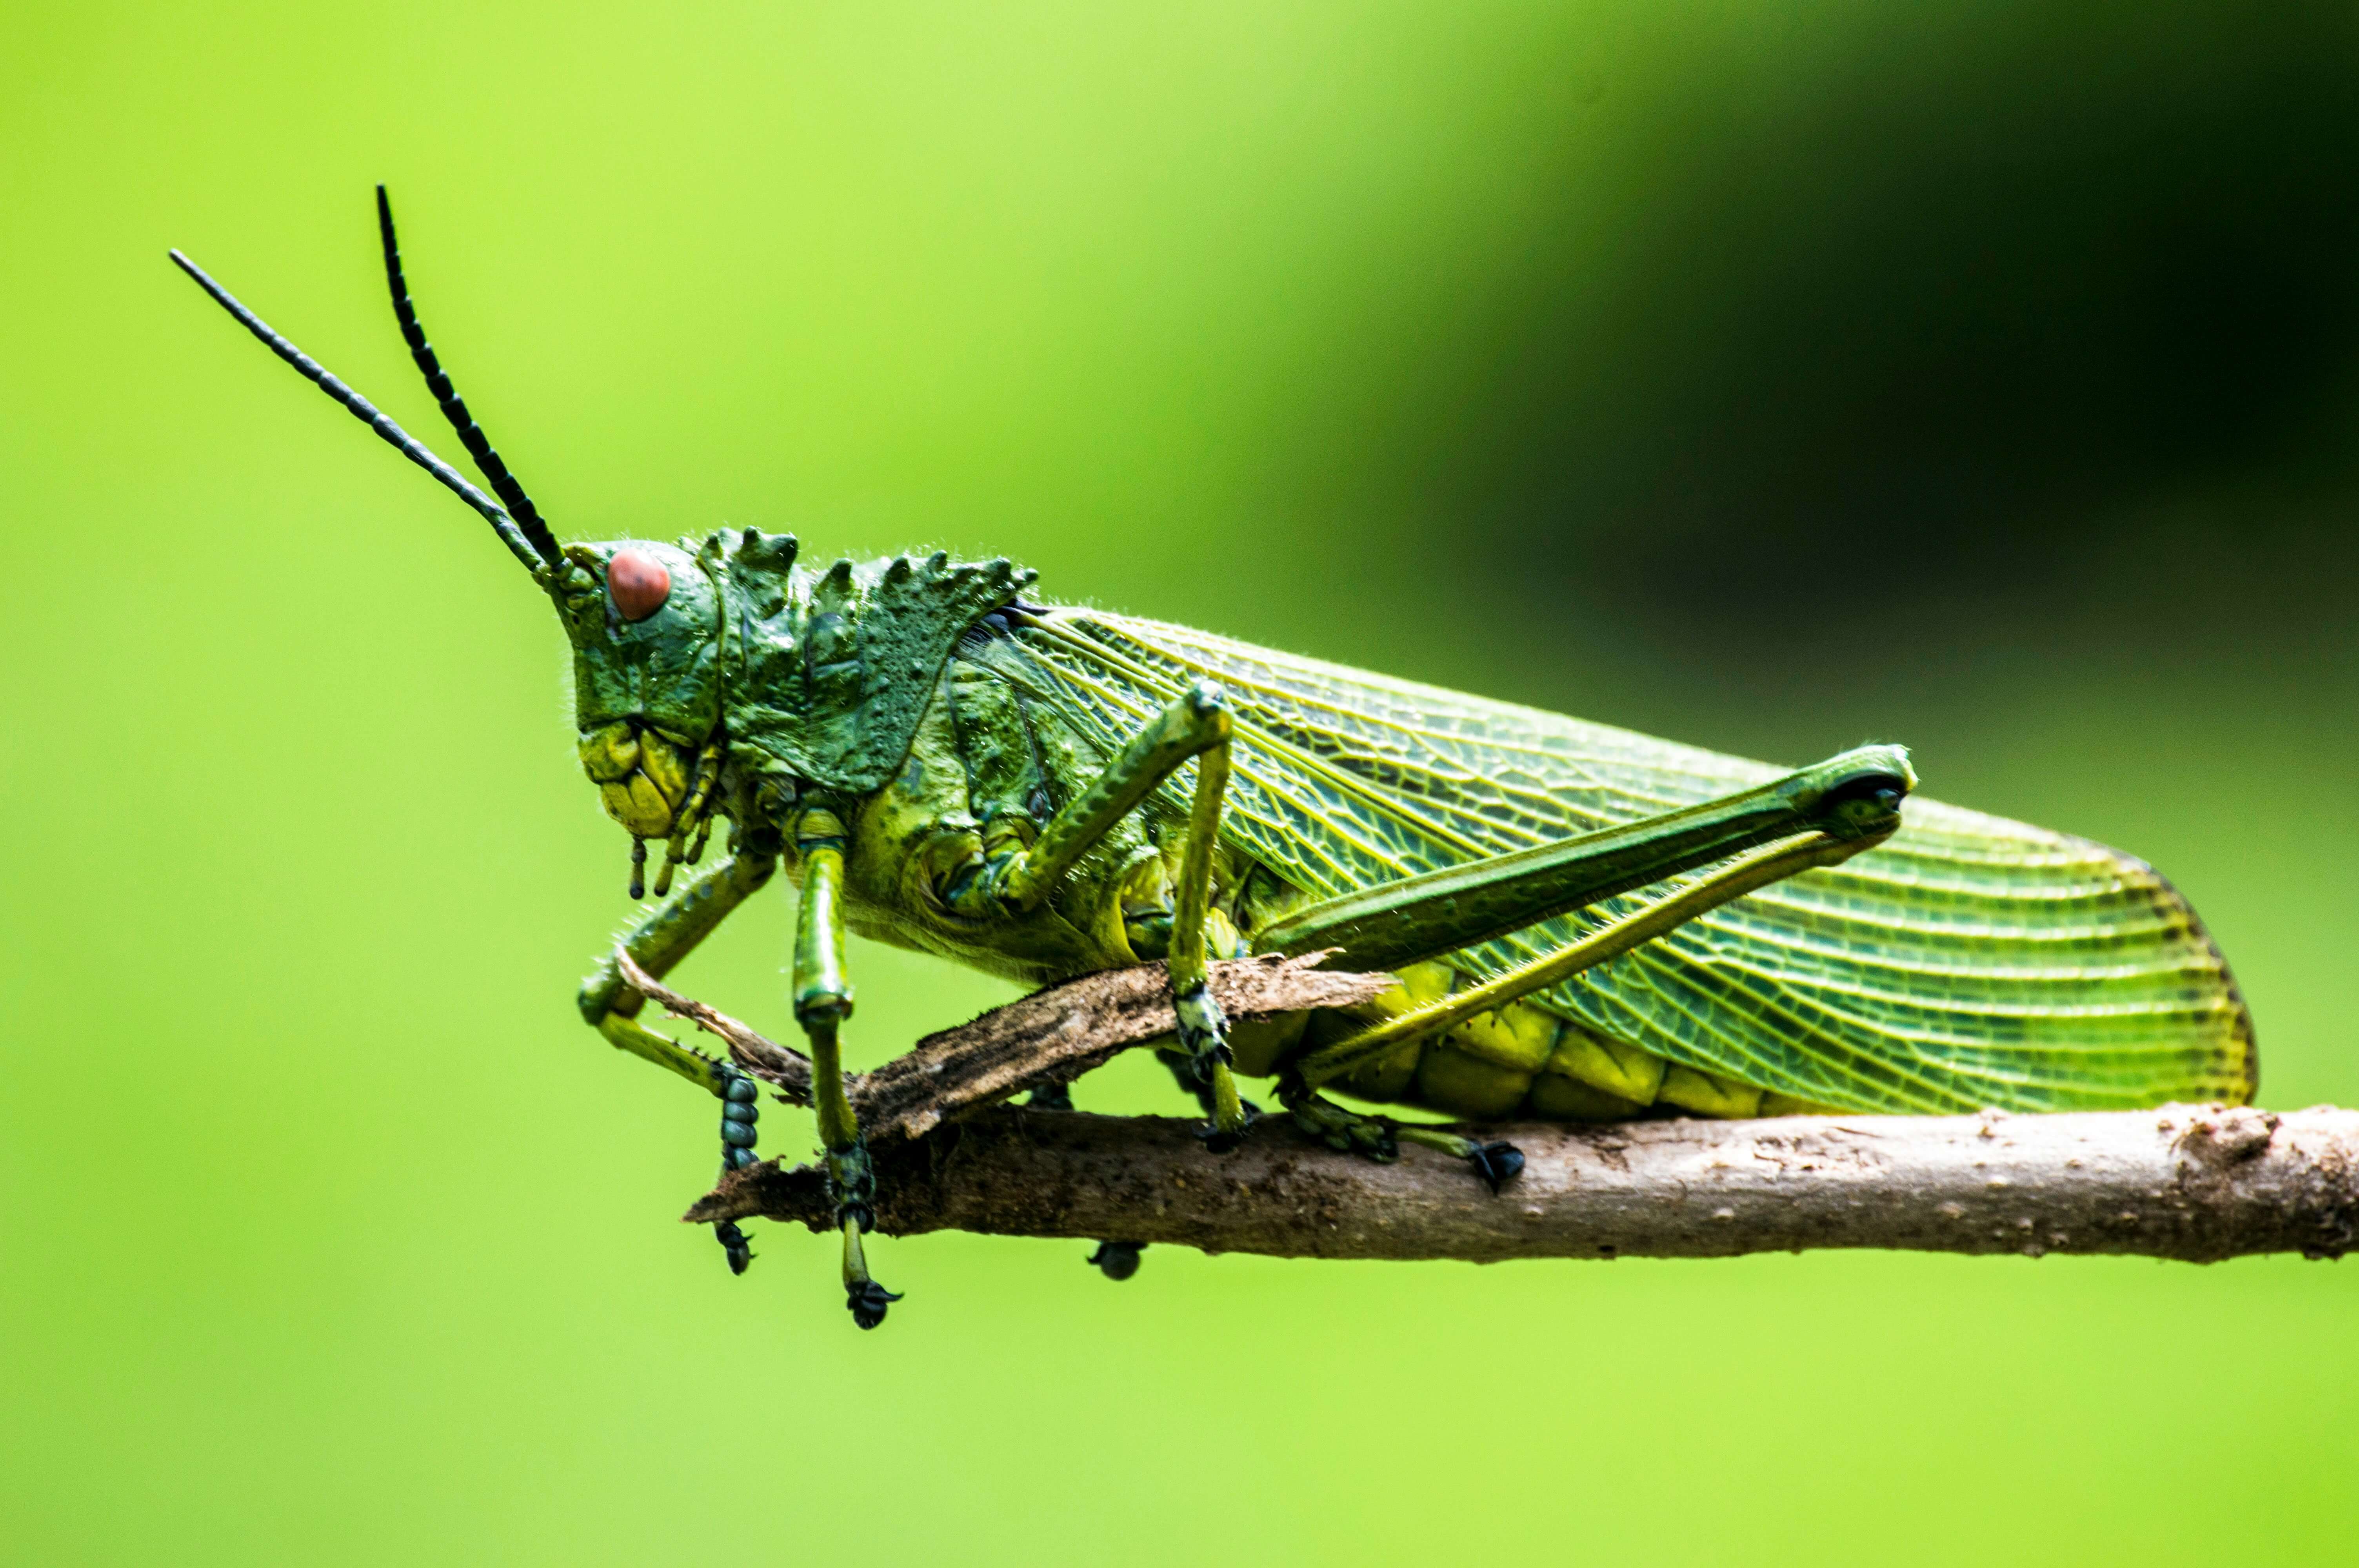
Set yourself a small distance from the subject, about the same distance as your CFR. Start with the smallest magnification and slowly zoom in to focus.
A great scope that goes from distant to close-up is the Minox Monocular MS. This compact handheld monocular has 8x magnification and a close focus range of just 35cm. At just 220g, it’s a pocket-sized scope for entry-level optics, waterproof to IPX7.
With smartphone cameras advancing with every generation, wildlife photography has become more accessible than ever. With a quality scope, you can position your camera lens against the eyepiece and capture brilliant long-lens images.
Experiment with settings on both phone and scope to find the right balance. The best scopes for using in this way have a large objective lens, greater than 50mm. This lets in plenty of light, even at full magnification.
Large Lens Scope from Sightmark
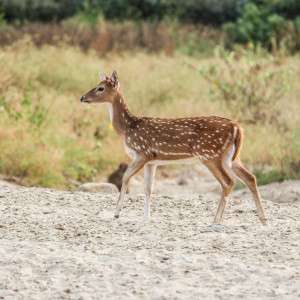
Thermal scopes and monoculars can show wildlife presence in the dark, without light to disrupt or disturb nocturnal animals. Of course, thermal imaging only shows warm-blooded mammals, so no snakes or invertebrates will be visible. You can use thermal imagers to observe owls, bats, roosting birds, deer, foxes, badgers and more.
Here is some advice on the best use of handheld thermal imagers.
The HikMicro Lynx 2.0 LH15 is a compact, lightweight thermal imager that can detect wildlife up to 750m away.
Whether you’re exploring in daylight or at night, remember that observing wildlife with scopes is easier with practice. Get to know your equipment by testing it out in different light conditions and over varying distances. There are plenty of options for serious nature enthusiasts to get a closer look at their non-human neighbours in our range of spotting scopes.
Jul 12, 2024 by
May 10, 2024 by

WildlifeCam Ltd is a credit broker, not a lender, and is authorised and regulated by the Financial Conduct Authority No 997540
We do not charge for credit broking services, we introduce you exclusively to Klarna
Shop and pay the Klarna way - join 150 million customers and choose flexible payments, lightning-fast checkout and secure shopping at WildlifeCam Ltd.
For more information please click here.